

Reviewed · DUBLIN
Dublin: Personal Photographer- Travel Photography Experience
Dublin looks better when someone else shoots. This private photography experience turns the city’s biggest sights into a guided photo walk, with a pro capturing you as you go. You’ll get edited images for sharing without the stress of chasing perfect angles.
I especially like the mix of photography tips and real sightseeing. You’re not just standing in front of landmarks; you’re getting suggestions that help you look natural, move with purpose, and collect photos you’ll actually use.
One consideration: the tour is not suitable for wheelchair users, so plan around that if mobility is an issue. Also, it’s built around walking between iconic spots, so wear comfy shoes.
In This Review
- Key Highlights at a Glance
- Why This Photo Tour Works in Dublin
- The Price: Paying for a Pro, Not Just a Route
- Getting Started at O’Connell Bridge (Meeting Point Reality Check)
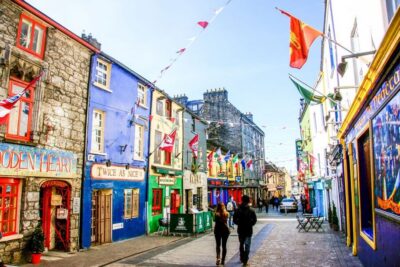
- Temple Bar in Focus: 25 Minutes of Photos and Street Energy
- Grafton Street: Another 25 Minutes, Another Look
- St. Stephen’s Green: A Break That Makes Your Photos Better
- Trinity College Dublin: More Variety in Architecture and Framing
- Returning to O’Connell Bridge (and How the Ending Really Works)
- The Real Benefit: You Stop Chasing Photos
- How Fast You’ll Get Your Photos
- What Guides Add (Including the Friendly Welcome)
- The Walk Pace and Comfort: Plan for Shoes, Not Speed
- Who This Tour Is Best For
- Who Should Skip or Rethink It
- Tips to Get the Most from Your Session
- Should You Book This Dublin Photo Experience?
- FAQ
- Where does the tour start, and how do I find the photographer?
- How long is the Dublin photography experience?
- What places are included in the photo itinerary?
- What kind of photos will I receive, and when?
- What language is the live guide?
- Is the tour wheelchair accessible?
- What’s the price, and is it for a group?
Key Highlights at a Glance
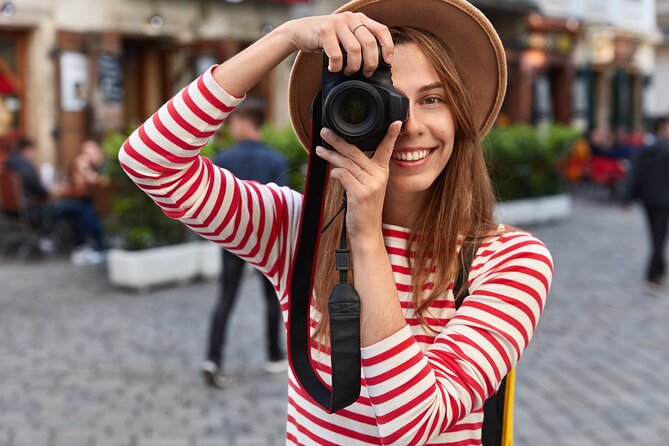
- Professional photographer who guides you the whole way, not just at one stop
- Pose and photography tips so you’re not stuck doing stiff tourist moves
- Instagrammable route built around the most photogenic Dublin hits
- Professionally edited digital gallery delivered within days
- Private group experience for solo travelers, couples, and friends
- Ends near O’Connell Bridge, with the option noted to finish at a location of your choice
A handful more Dublin outings we would happily send a friend to
- Dublin: Personal Photographer – Travel Photography Experience★ 4.5 · 37 reviews
- Private Tour: Personal Travel Photographer Tour in Dublin★ 5.0 · 6 reviews
Why This Photo Tour Works in Dublin
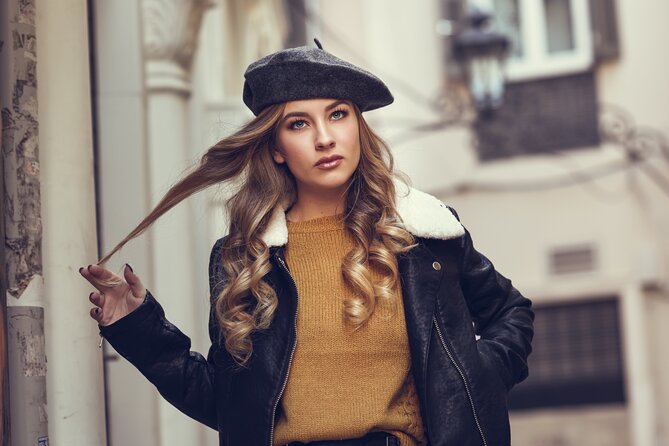
Dublin is a city you can photograph in all directions: bridges, lively streets, grand institutions, and quick stops that feel like they belong on your feed. What I like about this tour is that it’s not a random walk where you hope for good luck. It’s a focused route with a photographer steering the process.
The value is in the hands-on guidance. If you’ve ever tried to take your own pictures while also enjoying the walk, you know how fast that breaks the “I’m on vacation” feeling. Here, a professional handles framing and timing while you concentrate on being in the moment.
And the editing matters. Unedited travel snaps are fine for quick proof, but professionally edited images tend to look more polished and consistent, especially when you’re shooting across mixed lighting and busy streets.
The Price: Paying for a Pro, Not Just a Route
It’s listed at $180 per group up to 8, for a 2-hour experience. That pricing structure changes the math depending on how many people are in your group.
- For a couple or small group, you’re paying for a dedicated photographer and a guided photo plan, not just admission-style sightseeing.
- For friends traveling together, splitting across the group can make it feel more like a private service than a pricey “tour ticket.”
The biggest question isn’t only what you pay, but what you take home. With a digital gallery of professionally edited images within days, the tour functions like a memory package. If you’re aiming to post a set of photos that looks intentional (not accidental), this is where that price starts to make sense.
Getting Started at O’Connell Bridge (Meeting Point Reality Check)
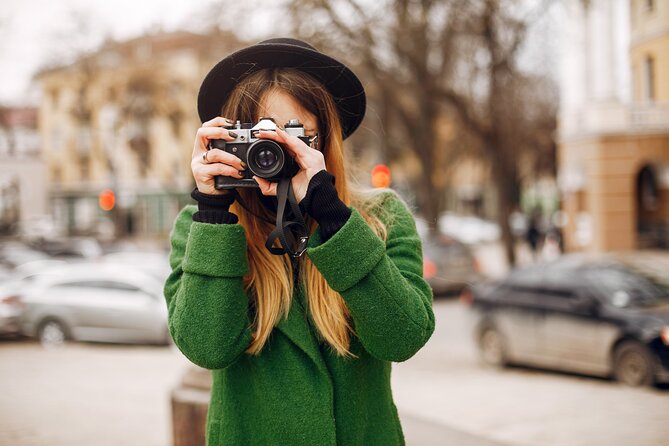
Your tour begins at O’Connell Bridge. You’ll meet your photographer at the start point and look for them holding a sign with the tour name.
This matters more than it sounds. A clear meeting point helps you avoid the travel-fuel chaos of searching around for a group you can’t see. And starting near a major hub is practical because it keeps the route easy to follow and reduces the “getting to the good stuff” time.
Plan to arrive a few minutes early. Even if you’re excited, you’ll want a quick moment to settle your camera settings mentally (or just relax if you’re not shooting yourself) before the photographer starts guiding poses.
Temple Bar in Focus: 25 Minutes of Photos and Street Energy
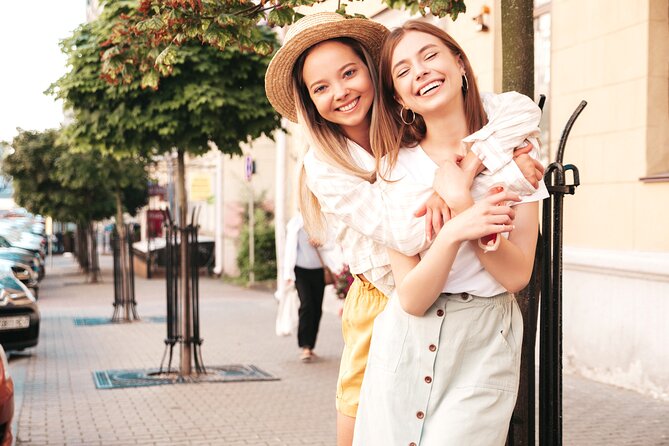
The first featured stop after the bridge is Temple Bar, with a 25-minute photo stop and guided segment.
Temple Bar is one of those places where the streets can look great from multiple angles, but it’s also easy to lose time if you’re trying to coordinate photos yourself. A guided stop helps you get into position faster and gives you a set of “try this” options for how to be photographed in a lively area.
What you’ll likely appreciate here:
- You’re getting prompted on poses and how to interact with your surroundings
- You’re learning quick tricks for standing or moving naturally while people pass by
- You’ll spend enough time to get more than one good shot without dragging the whole tour pace
A small consideration: busy streets can mean crowds in the background. The photographer can work around that, but if you want perfectly empty backgrounds, Dublin’s central areas are rarely like that. The upside is that you’ll get photos that feel like Dublin, not like a staged postcard.
Grafton Street: Another 25 Minutes, Another Look
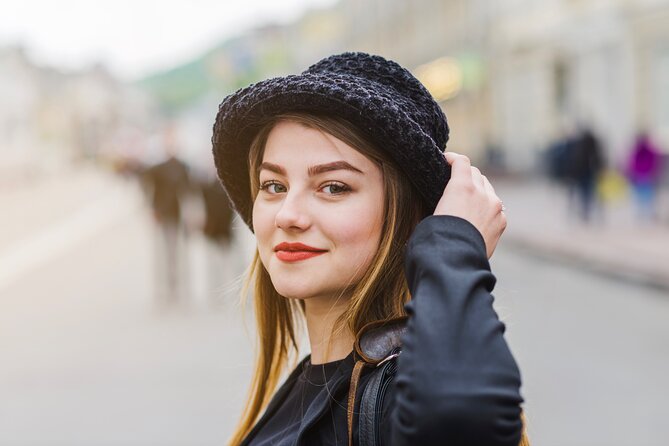
Next comes Grafton Street, again with 25 minutes for photos and guided time.
This segment is valuable because it changes the visual mood. Where one street might be darker or more atmospheric, another feels brighter and more open for walking-style photos. Your photographer can help you switch from still poses to more “on the move” frames—especially useful if you want your set to look varied instead of repeating the same composition.
This is also a good place for anyone who feels awkward in photos. If you’re used to thinking you need to stand perfectly still, the guidance helps you remember that movement counts. A natural walk can turn into a great shot when someone is timing you for the background and light.
St. Stephen’s Green: A Break That Makes Your Photos Better
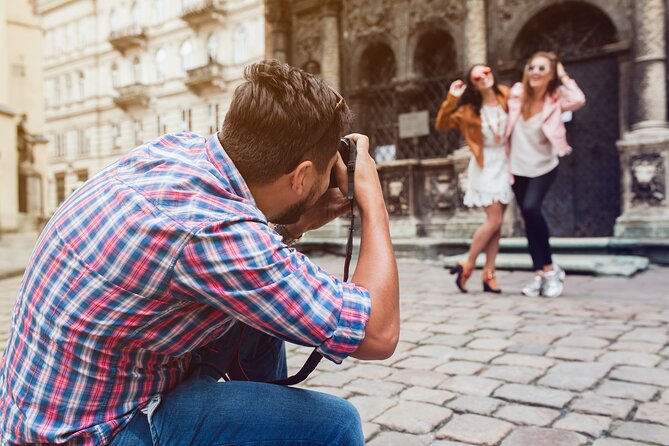
Then the route shifts to St. Stephen’s Green, with about 25 minutes focused on visiting.
This stop is your palate cleanser. After street scenes, the park gives you a different kind of depth for photography: greenery, paths, and calmer surroundings. Even if you’re not a “nature photographer,” the setting helps your photos breathe, and it adds variety to your final edited gallery.
If you care about getting portraits that don’t look like they were taken on the sidewalk corner, a park stop is a smart move. It’s also a chance to slow down. The tour is still paced for photos, but the atmosphere is typically less chaotic than the shopping streets.
What to do with this time:
- Take a breath and reset your energy
- Let the photographer show you how to frame you with the park setting
- If weather changes, this is often a more forgiving location than open streets
Trinity College Dublin: More Variety in Architecture and Framing
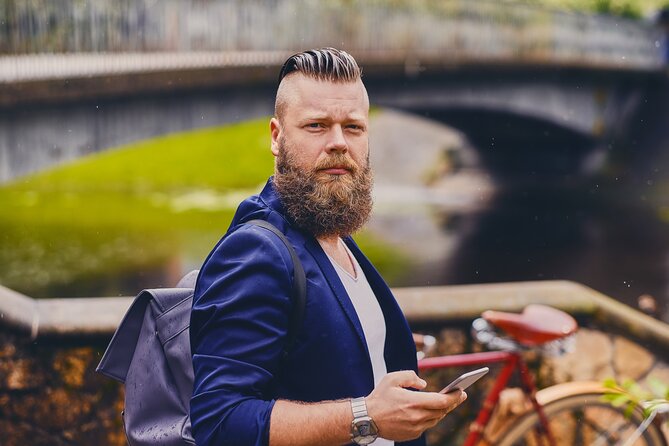
The next stop is Trinity College Dublin, also with around 25 minutes for photo opportunities, visiting, and guided time.
This is where the tour’s “Instagrammable” promise becomes more than a label. Large institutions and historic-looking settings create strong backdrops quickly. The trick is getting photos that look intentional rather than generic, and that’s what the guided coaching supports.
A practical point: sites like this can have rules or varying levels of pedestrian flow. Since the tour format is short and guided, your photographer can help you position without turning it into a long scramble.
You’ll probably come away with:
- Wider shots that show place context
- Portrait-style frames with the building setting your background
- A few angles you wouldn’t have thought to try on your own
Returning to O’Connell Bridge (and How the Ending Really Works)
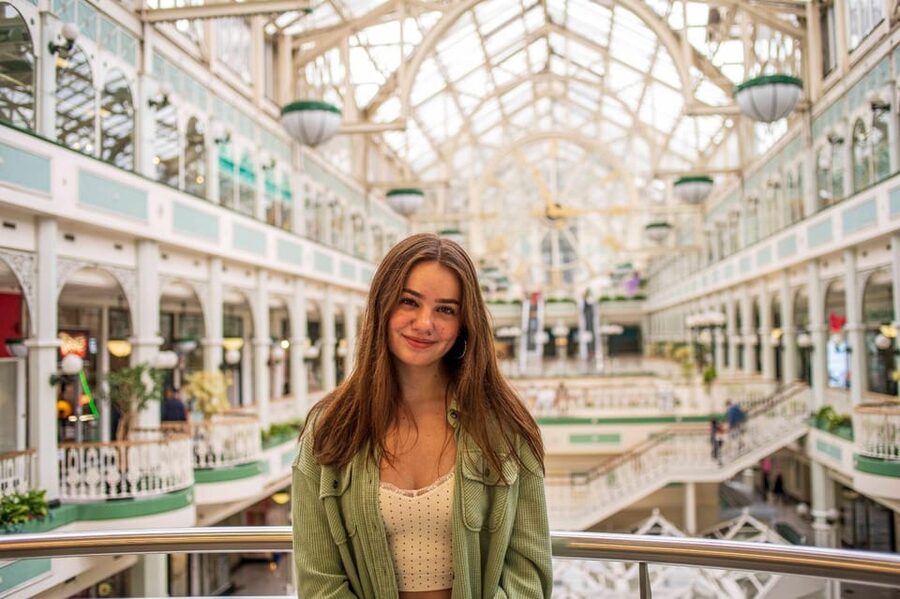
The itinerary returns you to O’Connell Bridge at the end. That’s the classic “walk it back to the start” format, which makes it easy to orient yourself and head off on your next plan.
At the same time, the tour description notes that it can conclude at a location of your choice. Since the meeting and end point details both mention O’Connell Bridge, I’d treat the safe expectation as finishing near the start area, and use the local guidance if you want a specific drop-off.
Either way, this kind of ending helps you avoid feeling stranded at the end of the day.
The Real Benefit: You Stop Chasing Photos
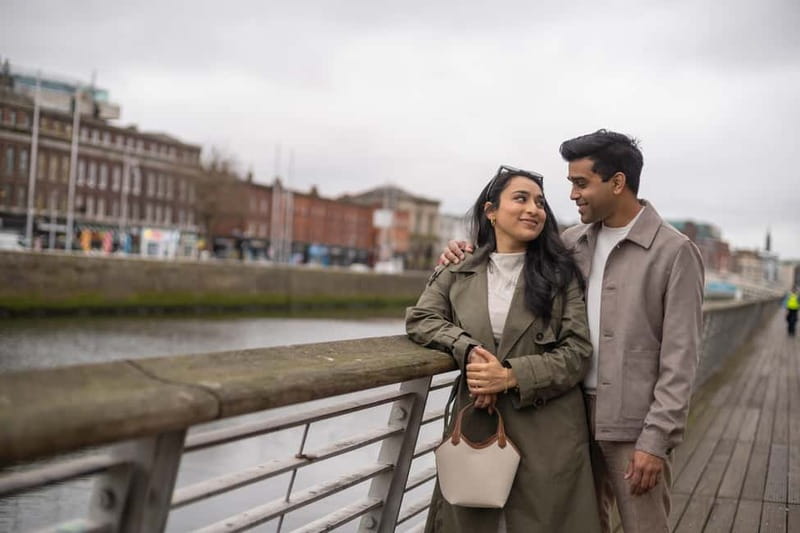
Most sightseeing fails because you split your attention between two jobs: enjoying the city and managing the camera. This tour helps you do only one. The photographer handles composition and timing, while you follow along with easy prompts for poses and movement.
That’s a big deal if:
- You’re traveling solo and want photos that actually include you
- You’re a couple who doesn’t want awkward self-timer shots
- You’re a family trying to get everyone looking at the camera
- You’re friends who want consistent photos without juggling phones and angles
Even better, you’re given creative pose suggestions, so you’re not left thinking what to do with your hands. It’s the difference between a photo session that feels like work and one that feels like part of the walk.
How Fast You’ll Get Your Photos
You’ll receive a digital gallery of professionally edited images within days. One of the standout details from feedback is that images may be released in about 48 hours.
That speed is practical. A lot of travel photo services take forever, and by the time you get the results, your trip is already old news in your feed. Here, you’re more likely to post while the memories are still fresh—and while your trip timeline still makes sense.
What Guides Add (Including the Friendly Welcome)
The photographer isn’t just a camera holder. They provide photography tips, suggest creative poses, and help you feel comfortable in front of the lens.
One guide name that comes up is Lyvia, described as friendly and welcoming. That matters because the biggest barrier to “good traveler photos” is often confidence. When someone keeps the mood relaxed, you tend to relax your face and posture. That’s when photos improve fast.
If you’re nervous about being photographed, this kind of friendly coaching is exactly what you want.
The Walk Pace and Comfort: Plan for Shoes, Not Speed
The experience runs about 2 hours and follows a tight set of stops, including street areas and a park. That means you should plan for walking time between locations and a bit of stop-and-go positioning for photos.
A practical tip: wear shoes you’d be comfortable in for a casual city walk. If your feet hurt, your posture changes and your photos suffer. No one wants to spend the last half of the tour rubbing their legs while trying to pose.
Also keep in mind the tour is live and in English, so you’ll be able to follow direction easily without language barriers.
Who This Tour Is Best For
This is a strong fit if you want:
- A photo set that looks cohesive, not random
- Less stress and fewer “can you take one more” moments
- A guided route through Dublin’s most photo-friendly zones
- A relaxed pace where the photography is part of the sightseeing
It’s also a good match for people who don’t have much time. If you’re in Dublin for a short visit, this gives you a concentrated hit list: major bridges, lively streets, a park, and Trinity College Dublin.
Who Should Skip or Rethink It
If you’re looking for a deep, slow history tour, you might find this leans more toward photo stops than long explanations. The focus is on capturing images and moving between sights.
And if you need wheelchair access, note that it’s not suitable for wheelchair users. In that case, you’ll want to look for a different kind of tour with accessible logistics.
Tips to Get the Most from Your Session
You’ll get better results if you come prepared to cooperate with the photographer’s prompts.
- Wear something that feels like you. When clothing is comfortable, posing looks natural.
- Keep a bit of water handy if it’s warm; you’ll be more relaxed for pictures.
- If you want variety, tell the photographer you’d like a mix of portraits and wider street shots (they can guide you from stop to stop).
- Bring a charging plan for your phone. Even though the final set is delivered digitally, you’ll probably still want to capture a few quick moments of your own.
Should You Book This Dublin Photo Experience?
If you want Instagrammable photos without turning your trip into a solo photo project, I think this tour is a smart buy. The combination of a professional photographer, pose coaching, and a professionally edited gallery delivered within days makes it practical, not just trendy.
Book it especially if you fit one of these roles: you’re traveling solo, you’re a couple who wants couple shots that don’t look forced, or you’re with friends and want a consistent set. The route covers iconic Dublin, and the private group format means you’re not fighting for space with strangers.
Hold off if you need wheelchair access, or if you prefer unstructured wandering over a set stop-and-photo routine.
FAQ
Where does the tour start, and how do I find the photographer?
The tour starts at O’Connell Bridge. Meet the photographer there and look for them holding a sign with the tour name.
How long is the Dublin photography experience?
The tour lasts approximately 2 hours, with exact starting times depending on availability.
What places are included in the photo itinerary?
The route includes Temple Bar, Grafton Street, St. Stephen’s Green Park, and Trinity College Dublin, with photo stops and guided time at each location.
What kind of photos will I receive, and when?
You’ll receive a digital gallery of professionally edited photos within days. One mentioned turnaround is about 48 hours.
What language is the live guide?
The live tour guide speaks English.
Is the tour wheelchair accessible?
No. The experience is not suitable for wheelchair users.
What’s the price, and is it for a group?
The price is $180 per group up to 8. It’s described as a private group experience.
More Photography Sessions in Dublin

More Tour Reviews in Dublin

Fresh off the cobbles: the latest Dublin reviews
- Dublin Private Airport Transfer to Ireland
★ 4.5 · 3 reviews - Private Chauffeur Service From Dublin Airport to Killarney
★ 5.0 · 3 reviews - Ireland: 3-Day West Coast Explorer Tour
★ 5.0 · 3 reviews - From Dublin: 4-Day Southern and Western Coast Tour
★ 4.3 · 3 reviews - Dublin : Street Art Walking Tour
★ 5.0 · 3 reviews - Spring Tonic Foraging Tour
★ 5.0 · 3 reviews